Monday 24 February 2014

Album Front & Back Cover Inspiration

The inspiration for the editing style of my front and back cover for my 1st ancillary text draft are the album covers:
  • Sonic Youth - Goo
  • Peter, Bjorn & John - Young Folks
They each use a cartoon style image which creates a unique appearance and instantly catches the audience's eye. This is because it breaks the formal convention as usually a photograph is used rather than a drawing which is how the front cover appears. Lots of drawings are used for indie rock album covers as this adds to the unique style and fits in with how indie genre likes to appeal artistically and look aesthetically pleasing.

Although I thought it would look very creative to recreate this style, I didn't intend on actually trying it as I didn't feel that I would be able to create a drawing or painting which I could use for the front cover. It seemed that the best option would be to opt for using photographs as I already have experience using Photoshop. However, whilst I was practising different effects using the photos I took, I found an interesting effect called Threshold which created a similar effect to the black and white, Sonic Youth - Goo album whilst maintaining a cartoon-like style seen by the Peter, Bjorn and John - Young Folks single cover.


Sunday 23 February 2014

Filming Day #4

Today was the final say of filming, I had a lot of problems with arrangements and ended up replacing one of my original actors whilst another character in my video had to be dropped as I was unable to replace them however I am still pleased with the outcome of today's filming. All of the shots were located in Old Town in Hull as I wanted an old indie mise-en-scene which I found in Old Town. I feel that despite the difficulties I found with arrangements etc. the overall shots were good although there are a couple which may have to be re-shot. However, I am pleased with all of my filming and look forward to editing my video and finding out how well the filming has worked.

Wednesday 19 February 2014

Filming Day #3

Today's filming consisted of getting the final shots of Sophie in the music video of her by herself located in my house and down some streets. I only had 8 different shots to shoot which were located in my house and down a few different local streets to vary the locations I include in my music video. I feel the filming was very succesful and I achieved all the shots I wanted to, it was filmed within a small amount of time as the shorts were relatively simple which was very convenient and arranged well as all of the shots were ones I could film locally.

To keep a cohesive mise-en-scene in terms of costume, I kept Sophie's costume the same as previously filmed in Pearson Park as all of these shots are supposed to be from the same day. I got Sophie to apply the same make-up as before to ensure continuity.


Monday 10 February 2014

Ancillary Texts: 3rd Poster Edit Photo


This is the previous, noise image that I edited however I have changed it to black and white which I feel looks as though it belongs more to the indie rock genre. Whilst I changed it to black and white, I adjusted the brightness of the main colours in the photograph. I made sure that the greens were increased as to hihglight the trees in the background and increased the cyans and blues as this is the colour of Freddy's clothes and I wanted them to contrasts against his light skin.

Ancillary Texts: 2nd Poster Edit Photo


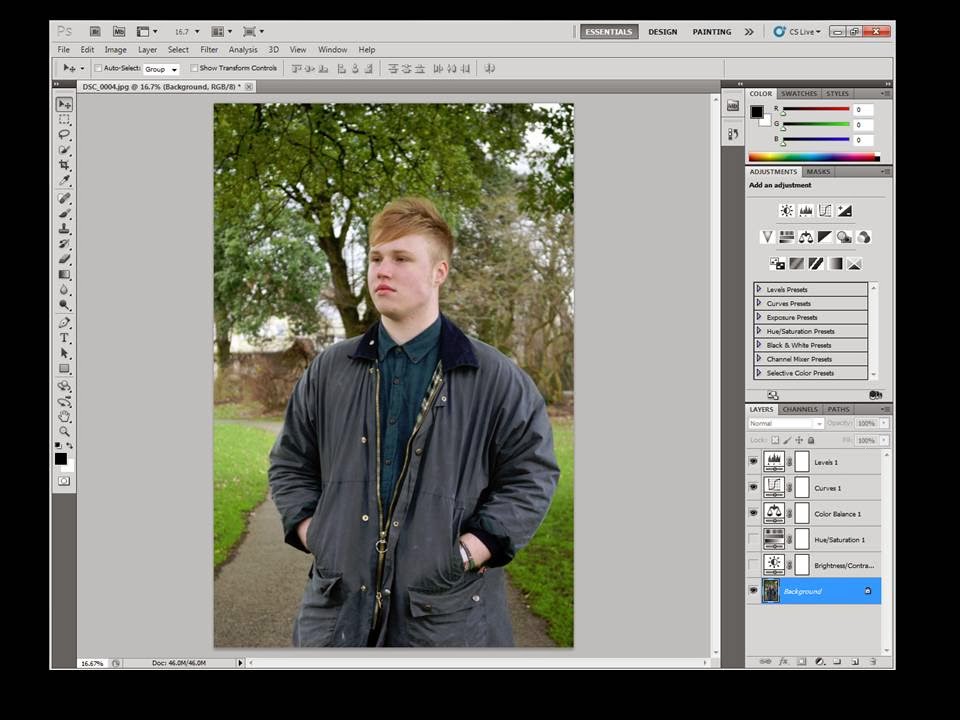
This is the same original image from the previous edit.

This is the first step I took whilst editing which consisted of adjusting the levels by changing it to Auto, this corrected the lighting.

Next, I moved onto adjusting the curves to that the details of the tree and Freddy's jacket were more prominent.

I then used the colour balance tool to emphasise the green colours of the trees and grass in the background of the image.

Next I used the hue and saturation tool to make the mood more meloncholic as the music video shares this mood as opposed to bright happy colours that a pop CD may use for the album cover.

After this, I moved onto the brightness and contrast. This helped me emphasise the image by increasing the contrast which made Freddy stand out against the busy background.

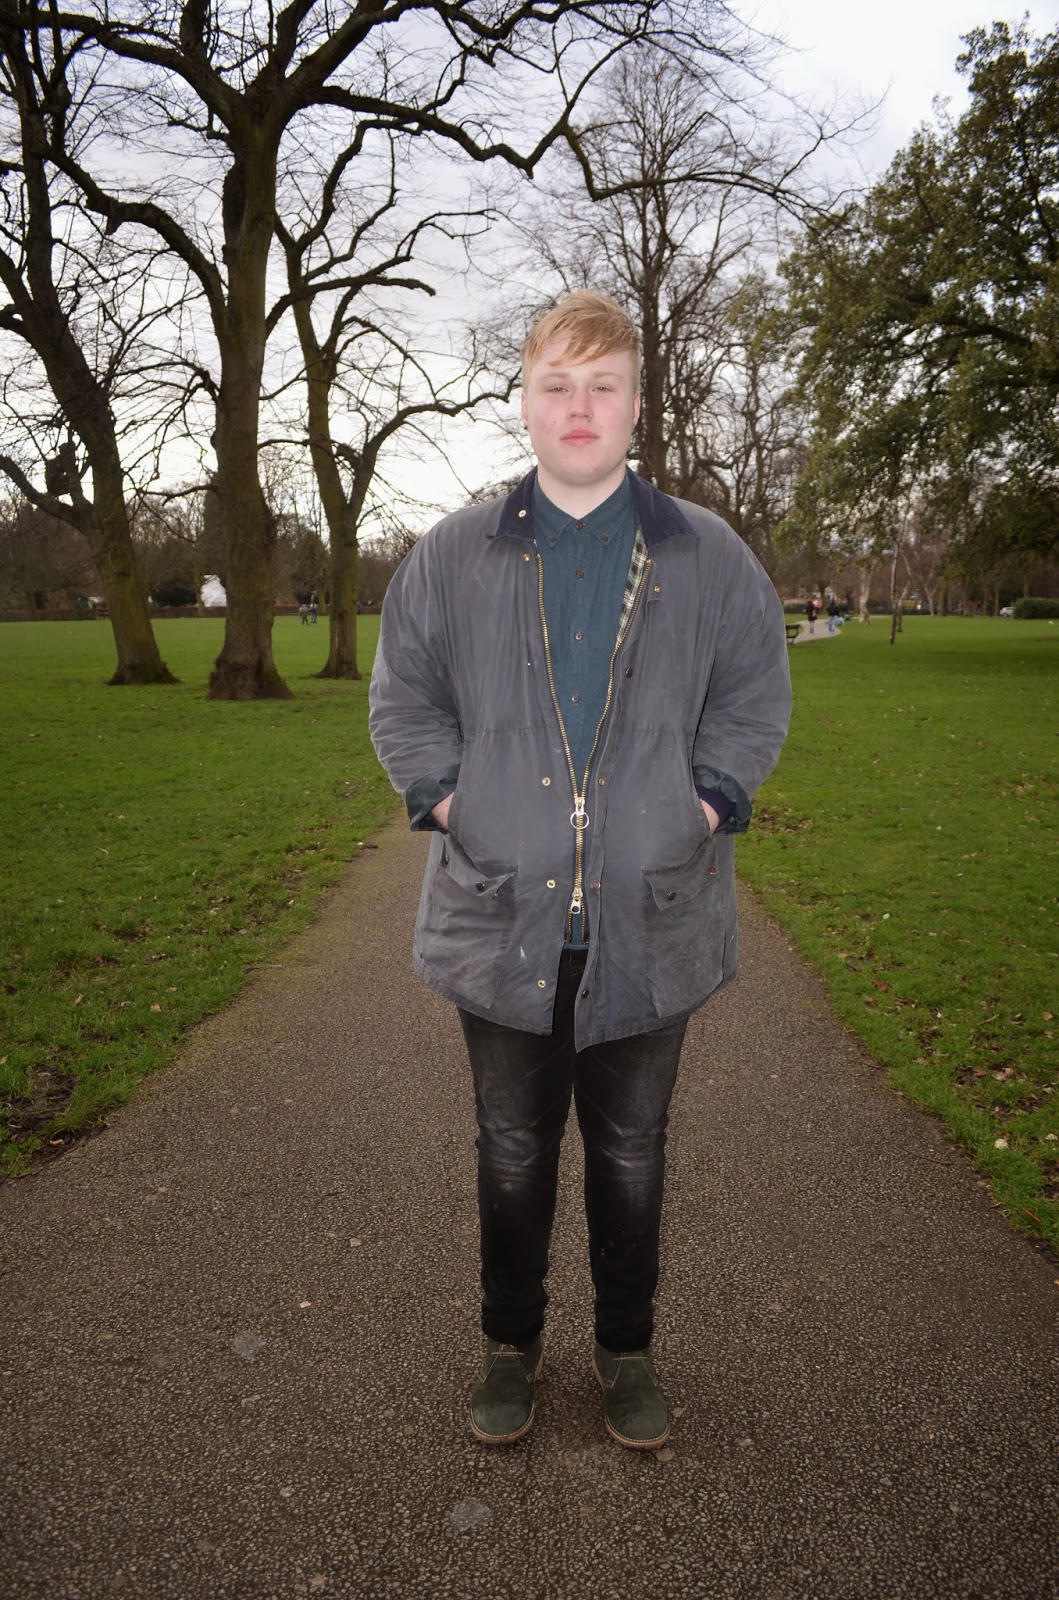
Next, I decided to add a noise effect to achive a grainy, film look which I found was common genre convention as this added a vintage, rock and roll mood to the image.

This is the final edited image, although it is simple I wanted to see what effect I could create whilst avoiding using the black and white tool so that I have a range of images that I could use for my advertisement.

Ancillary Text: 1st Poster Edit Photo

This is the original photograph opened up on the editing software Photoshop.
Firstly, I adjusted the levels by setting them to Auto which meant that the lighting was set to the lighting of the photograph when it was taken. This meant that the colours also look more realistic to the original setting.

I next moved onto changing the photograph to black and white as this is a genre convention I found when researching into original CD covers. This gave the photograph a much stronger indie genre vibe as it makes the photograph look rather vintage.

Next, I slightly adjusted the curves to increase the shadows in the photograph and to highlight the lighter parts of the photo such as Freddy's face. This ensures that the artists stands out whilst maintaining a dark, tough portrayal of the artist.

After this, I increased both the brightness and the contrast to further the impact of the details. Although thsi only made a small difference, I think it is necessary to experiment with different tools to see what can be achieved.

Finally, I adjusted the exposure of the image to bring attention to Freddy's face by lightening it. This makes emphasises the idea the Freddy, as the artist, is the focus of the advertisement.


Costume Filming Day #2


Sophie's Costume:
Sophie is wearing clothing that relates strongly to the genre conventions of costume in terms of indie rock. She is wearing:
  • a mesh bodysuit
  • a green tartan dress
  • leather and faux fur jacket
  • Doc Martens
This is links straight back to my stroyboard as I made it clear that this is the type of clothing I wanted my talents to wear.


Freddy's Costume:
Freddy also is wearing clothes that are similar to those I had planned in my mood board and story board. He is wearing:
  • a green shirt
  • a wax jacket
  • dark jeans
  • desert boots

Filming Day #2

On the 9th Febuary I carried out my second day of shooting. This shoot I have achieved lots as this covers the majority of the music video which means that I am much closer to the completion of my filming. I started filming at about 12:30 as this gave me time to ensure the weather was okay for me to film. However, I also wanted the setting to look quite dull for my music video which was helped by the weather as it had been reaining and was very cold and cloudy. I used two people for this shooting which inlcluded both female and male lead role and I was able to recreate the shots I planned to take for my storyboard.


Wednesday 5 February 2014

Filming Day #2 Plan

I am planning to do my second shooting in Pearson Park, Hull on the 9th February.
This will really further my music video in terms of the amount of filming needed for my completed music video as the majority of it is set in Pearson Park. I have arranged it with the two talents that will be present in the shots and they have agreed to the planned date.
I also plan to take my own camera along to get some shots for my digipack and magazine poster to help complete my ancillary texts.

Saturday 1 February 2014

What is a digipack?

When I first read the brief I was unsure of what a digipack was and what it included. I have done some research to ensure that I know exactly what needs to be included in my digipack for it to be successful.
A digipack is the packaging for a CD or DVD, this is the casing which typically consists of a book-style structure to open up the digipack containing a place for the CD, some use a sleeve which holds the CD whereas a more common way of securing the CD is the disc tray which is the 'teeth' of the hub.

4 Panel Digipack

 Sleeve Style Digipack

Filming Day #1 - 16/12/13

I started filming for my music video which has helped me gain a better understanding of how to work with the camera and tripod. I shot 9 different shots for my music video, all of which take place in my own house as this is the chosen location. I had to reassemble my room as this was where most of the shots were filmed and I didn't want to damage the mise-en-scene by having irrelevant props in the shot. To help create a dark mood I filmed around 3:30pm which by that time, had already started to get dark. I also used artificial lighting to emphasise the shadows as if to imply the girl was a shadow of her former self when she used to be happy. Some shots were quite difficult due to the positioning, for example shot 23 is a pan from a birdseye view of the actress's face as she is lying on a bed. For this I had to stand on the bed and film over the my actress whilst holding the tripod which was very difficult to maintain my balance however I feel that after a number of takes I was able to achieve the shot I wanted.